POST
Build TA images on different TEE
This article will give an introduction to how to build TA images on different TrustZone.
1. About TEE
Nowadays, many security-related applications must run on the TEE. TEE (Trusted Execution Environment) can provide an absolute-safe environment for any user security requirement. Fingerprint application as one kind of biometric authentication, it is a trusted application and must run on the TEE. Here I will take the Fingerprint application as an example to introduce how to build the trusted application (TA) image.
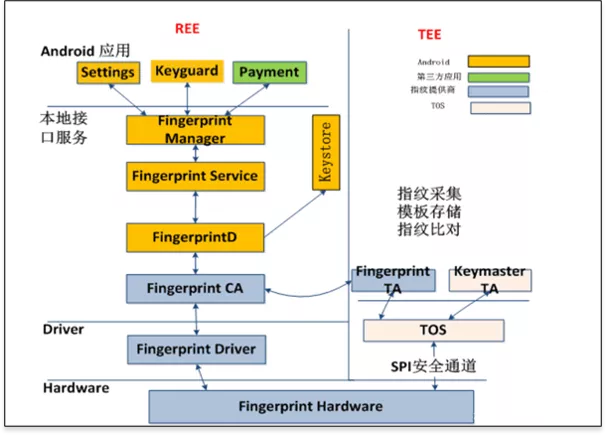
Before start, I want to use the below diagram for presenting a short description on how TEE works on fingerprint applications.

The main control flow, handling the various use cases, is implemented in REE (Fingerprint HAL). Images from the sensor are captured on the TEE side and managed by fingerprint library, which also coordinates data flow towards the submodules implementing various algorithms for image processing and biometric processing. Enrolled fingerprint templates are managed in a RAM database in Fingerprint TA, and encrypted before passed to REE side for persistent storage. when authentication occurred, the matcher algorithm on the TEE side will work and give the matching result to REE. The communication channel - SPI transmission is physical in TEE and normally works by calling TEE API.
The software module working on the TEE side is normally built into a binary file, which runs on the TEE OS as an executable application (Trusted Application). Different TEE OS can support a different number of Trusted Application (TA).
There is multiple commercial TEE OS on the Android platform supported by third-party companies, some popular ones among them are QSEE, ISEE, Trusty. The following content will introduce how the fingerprint TA image is built out on these TEE OS.
2. QSEE 5
QSEE is one TEE OS supported by Qualcomm. In the android market, the system running with the Qualcomm platform uses the QSEE Trust zone. QSEE provides a set of SDK that helps the developer to develop the TEE application and generate the image file (TA image).
2.1 SDK
To build the TA image, we need to use QSEE SDK, which can be got from Qualcomm or ODMs. Here I use QSEE5 SDK and put it to below location in my unbuntu.
/home/david/devtools/tz_qsee52.2 Code
Next we need to put the source code of Fingerprint TA into place that the SDK can find it and make. In QSEE, normally there is specific location in the SDK file tree for storing the TA code. It is at path:
/home/david/devtools/tz_qsee5/ssg/securemsm/trustzone/qsapps/2.3 Build
We execute the build command to make the TA code and generate the TA image.
cd /home/david/devtools/tz_qsee5/build/ms/
python build_all.py -b TZ.XF.5.0.1 CHIPSET=sdm845 --cbt="$(FPC_CONFIG_TZ_IMAGE_NAME)" $(build_flags)
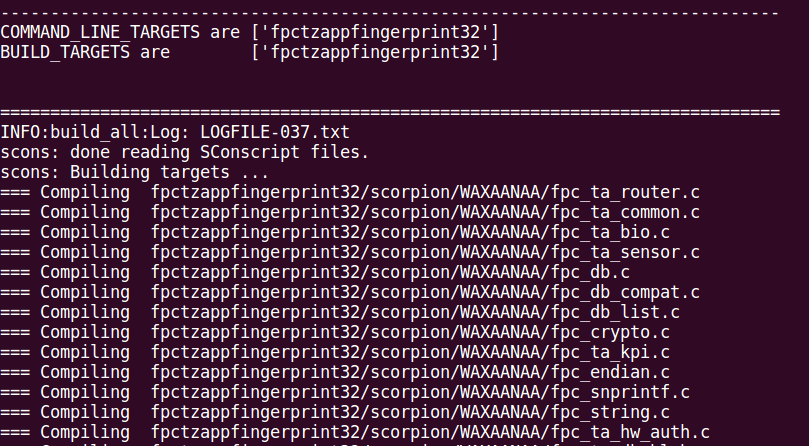
Build process

2.4 Image
TA images are generated at path:
/home/david/devtools/tz_qsee5/build/ms/bin/PIL_IMAGES/SPLITBINS_WAXAANAA/
The TA images are
fpctzappfingerprint.b00
fpctzappfingerprint.b01
fpctzappfingerprint.b02
fpctzappfingerprint.b03
fpctzappfingerprint.b04
fpctzappfingerprint.b05
fpctzappfingerprint.b06
fpctzappfingerprint.b07
fpctzappfingerprint.mdt
3. ISEE
There is no property TEE OS under the MTK platform. It adopts the way of integrating the TEE environment of a third-party. The common TEE manufacturers ISEE.
3.1 SDK
For ISEE SDK, it can find more details on this link 「ISEE SDK」 I put the SDK into the below location:
/home/david/devtools/isee_sdk_2703.2 Code
Put the TA source code to the below path:
/home/david/devtools/platforms/mt6797/vendor/fingerprints/3.3 Build
Run the command
cd /home/david/devtools/isee_sdk_270
source setenv.sh
cd /home/david/devtools/platforms/mt6797/vendor/fingerprints/fingerprint_ta/secure/platform/isee
 make
Build process

3.4 image
TA image is generated at the path:
/home/david/devtools/platforms/mt6797/vendor/fingerprints/fingerprint_ta/secure/platform/isee/obj/7778c03fc30c4dd0a319ea29643d4d4b.taIt uses the UUID of the TA as the TA name, which is UUID.ta
4. Trusty
Trusty TEE is originated and supported by Google, which is integrated into the android as a secure Operating System (OS) that provides a Trusted Execution Environment (TEE). For more details about Trusty, please refer to 「Trusty TEE」
4.1 SDK
Find a location in your local device. For example, I put the trusty SDK here:
/home/david/devtools/trusty_sdk4.2 Code
Copy the TA source code to the SDK folder.
/home/david/devtools/trusty_sdk/app/demo/4.3 Build
Run the command
cd /home/david/devtools/trusty_sdk
make M="app/demo/fpctzapp:TA"
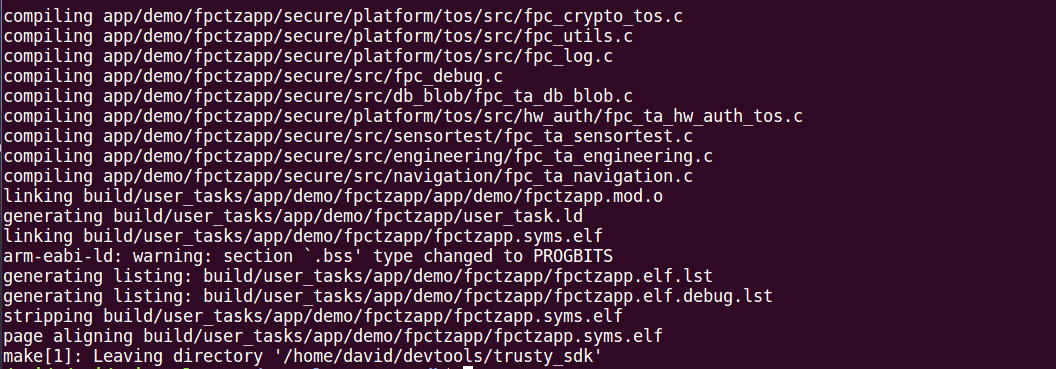
Build process

4.4 image
The TA image is generated at below location after compiling completed.
/home/david/devtools/trusty_sdk/build/user_tasks/app/demo/fpctzapp/fpctzapp.elf
/home/david/devtools/trusty_sdk/build/user_tasks/app/demo/fpctzapp/fpctzapp.elf/fpctzapp.syms.elf (for debug use)
It uses the TA name that is defined at the configuration as the image name, which is TA_Name.elf.
Such as fpctzapp.elf. The TA_Name.syms.elf is the image file that containing the symbols table which can be used for debugging purposes.