POST
Python Pillow library usage
I recently completed some image processing works by Pillow Library. Pillow provides a powerful function and has friendly APIs to the developer. I thought it is necessary to make some notes here for the usage.
What is Pillow?
We cannot say Pillow is PIL, even total from PIL. Actually, Pillow is an open-source project of Github, it is more like a derived branch of PIL. We all know PIL (Python Image Library) is the previous third-party image processing library of python and is almost regarded as the official image processing library of Python because of the powerful function. However, the last PIL release is at build 1.1.7 in 2009 which can only support Python 2. PIL’s release schedule is too infrequent so that some volunteers created an open-source project on Github for providing a compatible version on the basis of PIL. It’s called Pillow. Pillow added in some features based on PIL and provided support to Python 3. With the update of the version and many bug fixes from many contributors, Pillow has developed into a more dynamic image processing library than PIL itself. Pillow can be said to have replaced PIL.
The source code of Pillow is at Github repository.
The official website is here.
What Can Pillow do?
Pillow provides fairly powerful image processing capabilities for Python. It can do many things related to image processing and support the extensive file format.
Below is the official description of Pillow.
Image Archives The Python Imaging Library is ideal for image archival and batch processing applications. You can use the library to create thumbnails, convert between file formats, print images, etc.
The current version identifies and reads a large number of formats. Write support is intentionally restricted to the most commonly used interchange and presentation formats.
Image Display The current release includes Tk PhotoImage and BitmapImage interfaces, as well as a Windows DIB interface that can be used with PythonWin and other Windows-based toolkits. Many other GUI toolkits come with some kind of PIL support.
For debugging, there’s also a show() method which saves an image to disk, and calls an external display utility.
Image Processing The library contains basic image processing functionality, including point operations, filtering with a set of built-in convolution kernels, and color space conversions.
The library also supports image resizing, rotation, and arbitrary affine transform.
There’s a histogram method allowing you to pull some statistics out of an image. This can be used for automatic contrast enhancement and global statistical analysis.
Usage
Installation
Below is the python version information that Pillow can support.
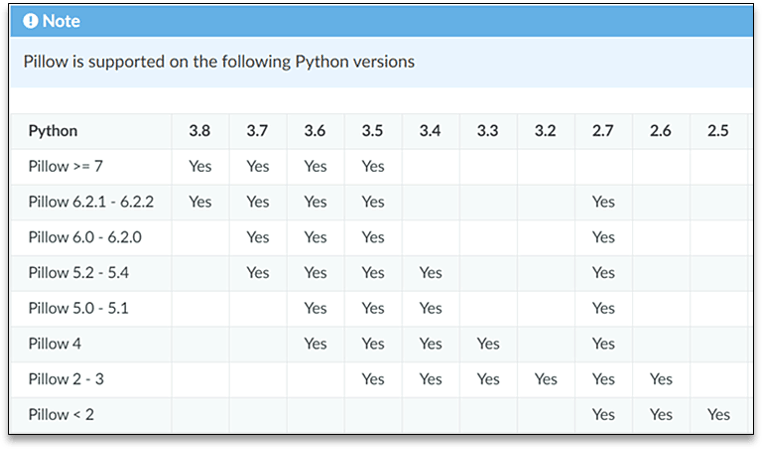
Pillow has been packaged into a standard Python library so the installation is quite easy, uses pip complete installation.
Here is a reminder that Pillow and PIL cannot co-exist in the same environment. Before installing Pillow, need to uninstall PIL firstly.
Install Pillow with pip:
python3 -m pip install --upgrade pip
python3 -m pip install --upgrade Pillow
Image Class
The most important class in the Python Imaging Library is the Image class.
Before use the library, need to import it first.
#python2
import Image

#python3
from PIL import Image
Some useful methods
Here we take the example of python3.
- Open()/Show()
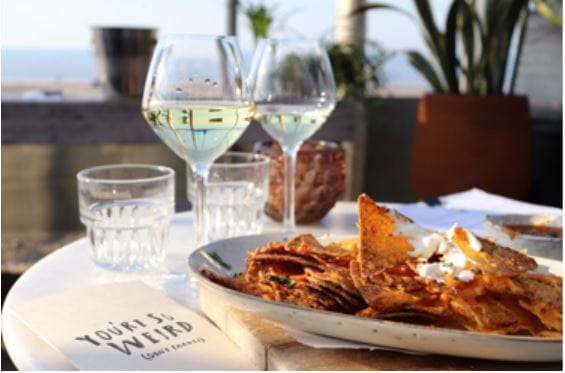
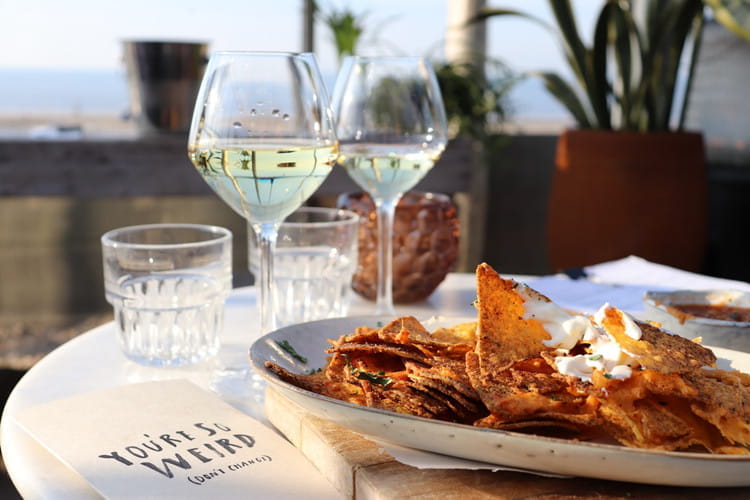
To load an image from a file, use theopen()function in the Image module. If successful, this function returns an Image object. You can now use instance attributes to examine the file contents:
from PIL import Image
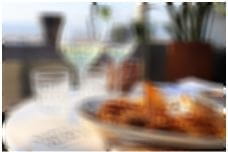
im = Image.open("python-pillow-02.jpg")
print(im.size,im.mode,im.format)
(750, 500) RGB JPEG
im.show()The format attribute identifies the source of an image. If the image was not read from a file, it is set to None. The size attribute is a 2-tuple containing width and height (in pixels). The mode attribute defines the number and names of the bands in the image, and also the pixel type and depth. Common modes are L (luminance) for greyscale images, RGB for true color images, and CMYK for pre-press images.
Above four-row codes will open and display an image on the screen. it will use the default image viewer of your computer to show the image.
- resize()
print(im.size)
(750, 500)
im = im.resize((150,100))
im.show()
print(im.size)
(150, 100)
- transpose()
im_rotate_180 = im.transpose(Image.ROTATE_180)
im_rotate_180.show()
The parameters can be
-Image.FLIP_LEFT_RIGHT, which means to flip the image left and right
-Image.FLIP_TOP_BOTTOM, which means to flip the image up and down
-Image.ROTATE_90, which means to rotate the image 90 ° anticlockwise
-Image.ROTATE_180, which means to rotate the image 180 ° anticlockwise
-Image.ROTATE_270, Means to rotate the image 270 ° anticlockwise
-Image.TRANSPOSE, which means to rotate the image (equivalent to 90 ° clockwise rotation)
-Image.TRANSVERSE, which means to transpose the image and then turn it horizontally
- crop()
im = Image.open("python-pillow-02.JPG")
box = (100,100,200,200)
region = im.crop(box)
region.show()
The above code cuts out a box rectangle area on the im and displays it. The box is a tuple with four numbers (upper left, upper left, lower right, lower right). Each pixel represents a coordinate unit. Crop() still returns an image object.
- filter()
Image can provide below filters.
BLUR、CONTOUR、DETAIL、EDGE_ENHANCE、EDGE_ENHANCE_MORE、EMBOSS、FIND_EDGES、SMOOTH、SMOOTH_MORE、SHARPEN.
Below we demonstrate some of the effect of filters.
from PIL import Image
from PIL import ImageFilter
im = Image.open("python-pillow-02.JPG")
im = im.resize((150,100))
blur = im.filter(ImageFilter.BLUR)
conf = im.filter(ImageFilter.CONTOUR)
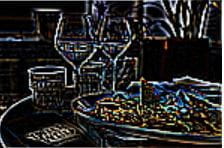
edge = im.filter(ImageFilter.FIND_EDGES)
smooth = im.filter(ImageFilter.SMOOTH)
sharpen = im.filter(ImageFilter.SHARPEN)
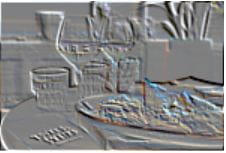
emboss = im.filter(ImageFilter.EMBOSS)
blur.show()
conf.show()
edge.show()
smooth.show()
sharpen.show()
emboss.show()BLUR
CONTOUR

EDGE
SMOOTH

SHARPEN

EMBOSS
- rotate()
from PIL import Image
im = Image.open("python-pillow-02.JPG")
w,h = im.size
im = im.resize(((int)(w/2),(int)(h/2)))
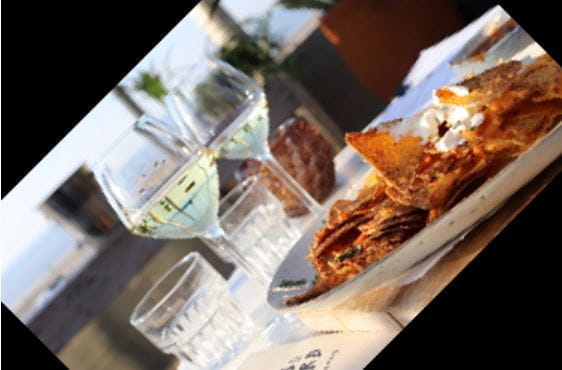
im_45 = im.rotate(45)
im_90 = im.rotate(90)
im_45.show()
im_90.show()rotate 45 degree
rotate 90 degree

- convert()
Convert()is a method of image instance object. It accepts a mode parameter to specify a color mode. The value of mode can be as follows:
·1(1-bit pixels, black and white, stored with one pixel per byte)
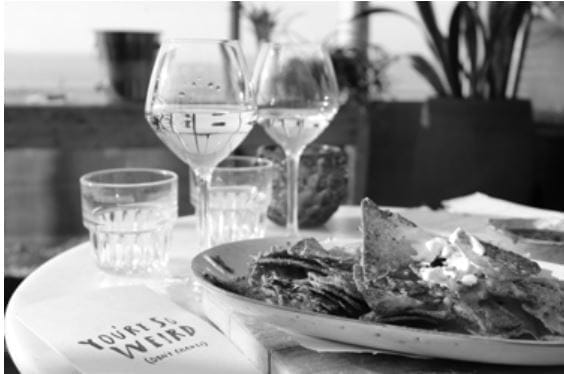
·L(8-bit pixels, black and white)
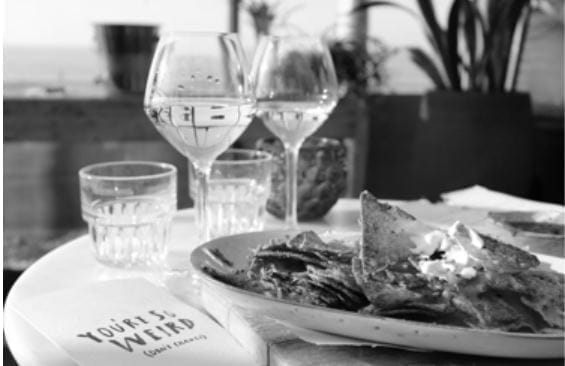
·P(8-bit pixels, mapped to any other mode using a color palette)
·RGB(3x8-bit pixels, true color)
·RGBA(4x8-bit pixels, true color with transparency mask)
·CMYK(4x8-bit pixels, color separation)
·YCbCr(3x8-bit pixels, color video format)
·I(32-bit signed integer pixels)
·F(32-bit floating point pixels)
from PIL import Image
im = Image.open("python-pillow-02.JPG")
w,h = im.size
im = im.resize(((int)(w/2),(int)(h/2)))
im_1 = im.convert("1")
im_L = im.convert("L")
im_P = im.convert("P")
im_CMYK = im.convert("CMYK")
im_F = im.convert("F")
im_1.show()
im_L.show()
im_P.show()
im_CMYK.show()
im_F.show()
mode 1
mode L
mode p

mode CMYK

mode F
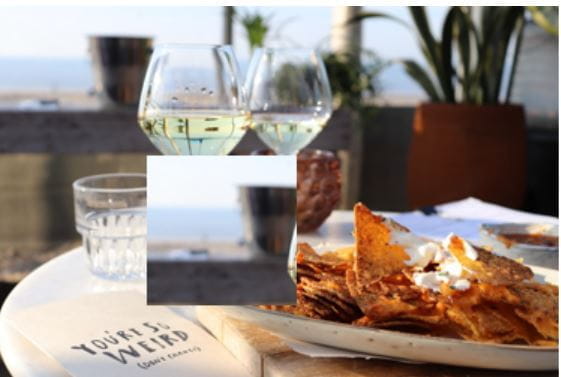
- paste()
Paste one image onto another.
from PIL import Image
im = Image.open("python-pillow-02.JPG")
w,h = im.size
im = im.resize(((int)(w/2),(int)(h/2)))
print(im.size)
box = (0,0,100,100)
region = im.crop(box)
im.paste(region,(100,100))
im.show()
in above code, region is the object to be pasted.
- split()
Split()method can separate each channel of the original image. For example, forRGBimage, the three color channelsR,GandBcan be separated.
from PIL import Image
im = Image.open("python-pillow-02.JPG")
w,h = im.size
im = im.resize(((int)(w/2),(int)(h/2)))
r,g,b = im.split()
r.show()
g.show()
b.show()
R
G
B

- merge()
Merge method and split method are relative. it combines multiple single channel sequences to form a multi-channel image. Mode is the mode of the combined image, such asRGB, and channels is the sequence composed of multiple single channels.
im_merge = Image.merge("RGB",[r,g,b])
im_merge.show()