POST
Use jekyll-toc plugin on Github Pages
Today I want to add an auto TOC (Table of Contents) function to my blog. I used to write TOC manually and it is really boring. I found a good plugin jekyll-toc in Github, which can fully meet my requirement.
Start
The installation is simple, I forked and installed the plugin successfully in 5 minutes.
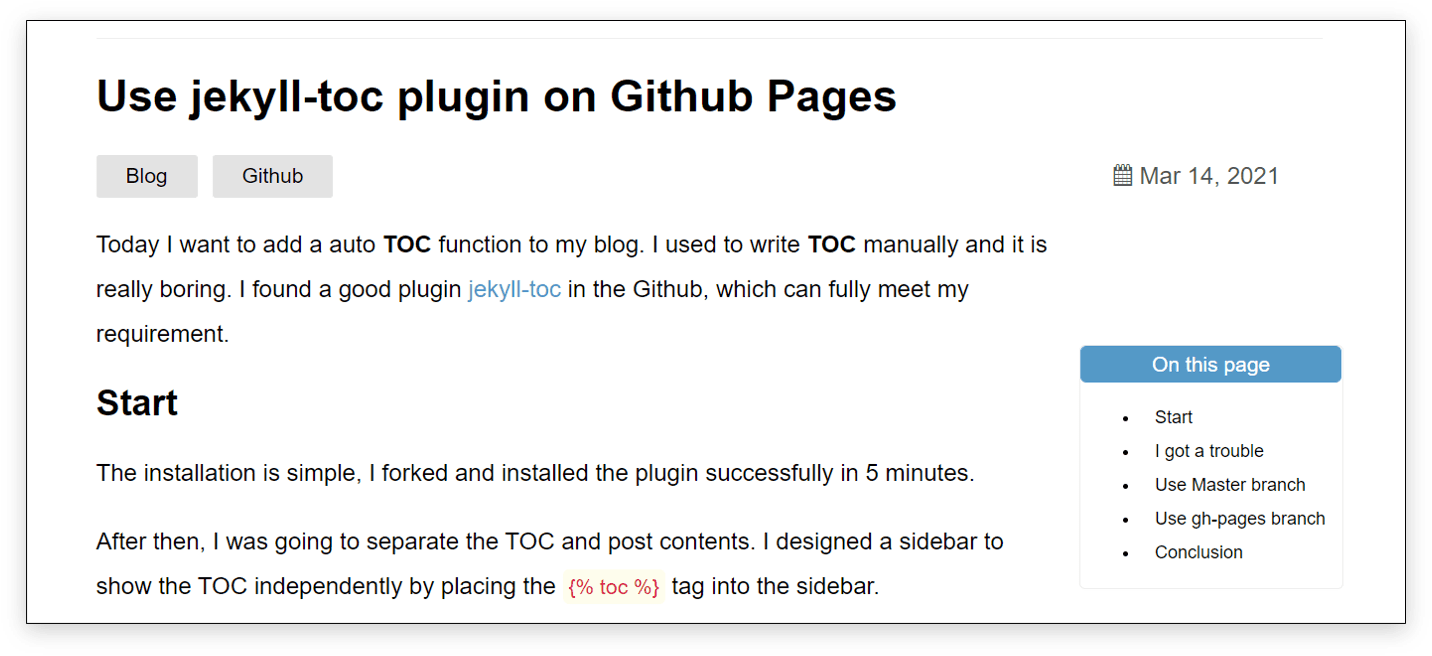
After then, I was going to separate the TOC and post contents. I designed a sidebar to show the TOC independently by placing the {% toc %} tag into the sidebar.
<!-- put sidebar! -->
<div class="post-index-container">
	{% if page.language == 'chinese' %}
		<li class = "post-index">文章目录</li>
	{% else %}
		<li class = "post-index">On this page</li>
	{% endif %}
		<li>{% toc %}</li>
</div>
I built the code locally by Jekyll and reloaded the page.
Cheers!
The TOC appeared, this was exactly what I want!
I got a trouble
Things are going well so far, it is so easy?
No, I got into trouble when I committed the change to the Github repository. The site was built failed by the Github Pages Generator.
The tag `toc` on line 32 in `/_layouts/post.html` is not a recognized Liquid tag.I realized immediately that this plugin wasn’t in the whitelist of Github Pages. I forgot that!
I have to use a trick way to skip the restriction. As the above bulletin showed, I need to build the site locally and push the generated static files to my Github repository.
Don't use Github Pages Generator build.
Use Master branch
Followed the above information I checked the root path of my blog project in Github, it was master branch.
So I added the site file _site/ to the master branch and pushed it to the origin repository.
I referred to two articles1 here.
git add _site/*
git commit -m "add static site file"
git push origin master
However, it didn’t work!
Use gh-pages branch
There should be something wrong with the above procedure.
I went back to google to search for another solution.
Thanks to these two articles2.
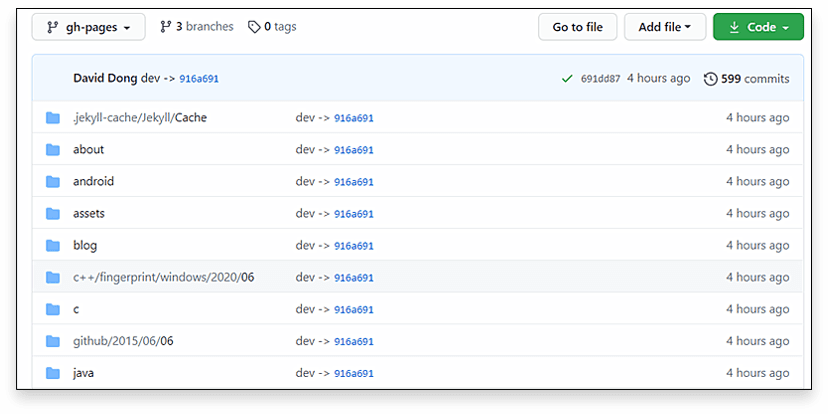
I made it clear when I build the website by Github Pages Generator, it actually creates a new branch gh-pages under master branch, where it stores the static site files for access. Therefore I need to create the gh-pages branch and place the generated static HTML there.
I changed the command as below.
cp -r _site /tmp/
git checkout -b gh-pages
rm -rf *
cp -r /tmp/_site/* ./
git add -A
git commit -m "add site files"
git push origin gh-pages
It worked this time!
Conclusion
If you want to deploy your website on Github Pages with the unsupported plugins, you will need to build your site locally and create gh-pages branch and upload your site file to this branch. One important point is that you should use the branch as the root, which means placing the site file into the directory directly instead of a sub-directory.


