POST
Use Travis CI to build and deploy project automatically on Github
This article will introduce how to use Travis CI to build, test and deploy the Github project automatically. I will take my blog project on Github as an example to explain.
Why do I use Travis CI ?
If you’ve looked at my previous article, you may know my blog was deployed on Github Pages and was built by Jekyll static site generator.
Github Pages are a great approach to build websites. Using a Github repository and with the Jekyll static site generator, we can build static websites easily. It is suitable for building a personal blog.
Although Github Pages can automatically generate a website from a repository containing a Jekyll project, it has some limitations.
To deploy the blog on Github Pages, you just need to commit your website's source code to the Github Repo and don't pay any effort on the building and deployment.
Github Pages will do it for you!
One of them is
- we can’t use Jekyll plugins
I need to use plugins to extend the functionality of my website, e.g. for implementation of toc and markdown function enrichment.
Understandably,Github Pages doesn’t allow the plugin for security reasons.
Github Pages Generator uses the Jekyll --safe flag.
The workaround is to generate the site locally and then to push the generated HTML to Github (I’ve interpreted how to do in my previous article). However, I usually use different branches for source code and output static HTML. The dev branch accommodates the source code and the gh-pages branch, which is as a window of website visiting, stores the static website files.
So my current workflow is
- modify the source code at the dev branch and use Jekyll build locally.
- commit the change to the dev branch.
- copy the output static website files which are in the
_sitefolder to \tmp folder. - switch to the local gh-pages branch.
- add copied static website file in
_sitefolder to the gh_pages branch. - git add & commit.
- push to the remote gh-pages branch.
or I can push the files in _site to the remote gh-pages branch forcibly from the dev branch although it is not an ideal way of routine operation.
You see it! ☹️ Really tedious, isn’t it?
I think it is a poor efficiency and should be improved.
The main motivation for me is to be able to get a tool that helps me do the above works automatically. What I want to do is just committing the code to the remote dev branch (this is the necessary work) and others leave to the tool.
The basic idea is to use the Travis CI continuous integration (CI) service. The function of Travis CI service fully meets my expectation. And the most important point is that it is FREE for open-source projects in Github.
Prerequisites
To start using Travis CI, make sure you have:
- Github account
-
Adding authentication methods to your Github account. You can do it by creating a personal access token (PATs) or connecting to GitHub with SSH Key. If you don’t know how to do, please refer to
- Travis CI account and sign up, you can use your Github account ID to log in directly.
-
Authorize the Travis CI (you will be requested to do it when you sign in to Travis CI for the first time), active your Github repositories that you want to use Travis CI service. Please refer to
- One local git repository for your project.
Workflow
The workflow of Travis CI building and deployment is as follows:
- git push to the Github repo triggers Travis CI
- Travis CI starts up a virtual machine and installs all required software (mostly Ruby gems)
- I use a custom rake task to tell Travis CI how to build the Jekyll site and push the updated content back to Github
- Travis CI clones a different branch (either dev or master, depending on the kind of Github repo) that holds the website’s source code.
- Travis CI runs Jekyll build with the destination in the other branch (gh-pages)
- Travis CI does a git push of the other branch (gh-pages)
- Github Pages starts serving the updates site
Depending on the required software that needs to be installed, the whole process takes anywhere between 1 and 5 min and is fully automated.
.travis.yml
Travis CI uses the .travis.yml file to describes the build process. Create a .travis.yml into your project’s repo and edit it.
Don’t forget to commit it and push it to the remote repo once you finished editing!
Lifecycle
The whole job’s life cycle can be divided into several phases.
The main phases are:
install- install any dependencies requiredscript- run the build script
You can complete basic work with the above minimal life cycle. Besides, Travis CI affords some phases that allow users to insert custom commands.
To get to know the details and learn how to write .travis.yml file, please read
Sensitive Data
Travis CI will inevitably use the sensitive data (for example, SSH private key or Github personal access token) to access the Github. Of course, we cannot expose the data without any protection. Travis CI provides encryption scheme to protect your secret information.
Travis CI offers commands that can encrypt the private key or any files. You can also save your sensitive data to environment variables, where the data is invisible and can be accessed from any stage in your build process.
For my project, I’ve tried two methods as below:
- use SSH scheme access Github with RSA key pairs
- access with encrypted Github PATs (personal access tokens)
SSH
For SSH access, I assume you have created SSH key pairs and it is workable for your Github. If you don’t have, do it by following
you can test the connection status by inputting the command.
ssh -T git@github.comIf you get a message like this, you are accessing Github successfully.
"Hi [secure]/your repo name ! You have successfully authenticated, but GitHub does not provide shell access."Then use the below command that Travis CI provides to encrypt the private key.
# Sign in travis-ci.com
travis login --com  --github-token "your github personal access keys (*PATs*)"
# encrypt the SSH private key
travis encrypt-file "your private key" --add
Above commands sign in Travis CI (for applying the APIs), encrypt the private key, and generate a code snippet (as below) into your .travis.yml file to decrypt the private key during the building process.
openssl aes-256-cbc -K $encrypted_70fbe34e406c_key -iv $encrypted_70fbe34e406c_iv -in blog_id_rsa.enc -out blog_id_rsa -dthen add your SSH private key to the ssh-agent.
# start the ssh-agent in the background
eval `ssh-agent -s`
ssh-add blog_id_rsa
After generated the encrypted key leave it into your code repo.
Do not forget to remove your PRIVATE KEY before you commit code to Github Repo!
Otherwise, you may potentially disclose your private key.
PATs
If using PATs, you should follow below steps:
-
acquire a PAT, refer to
remember to keep this token’s value carefully since it is only visible for the first time generated.
-
encrypt the PAT by inputting the command
travis encrypt -r <user name>/<repo name> GH_TOKEN= "value of PATs"This will output a string looking something like this:
secure: ".... encrypted data ...."Now you can place it in the .travis.yml file.
You can also skip the above, and add it automatically by running:
travis encrypt -r <user name>/<repo name> GH_TOKEN=PAT --addGH_TOKEN is the environment variable, which can be accessed in the .travis.yml file.
GH_REF environment variable can be set to “github.com/user-name/repo-name.git”.
Please note that the name of the environment variable and its value are both encoded in the string produced by “travis encrypt.” You must add the entry to your .travis.yml with key secure (underneath the env key). This makes the environment variable GH_TOKEN with the value of PATs available to your program.
Once you got the personal access token and encrypted, you can access the Github repo by the below method:
https://${GH_TOKEN}@${GH_REF}" travis:gh-pagesWith this method, you can avoid being request passphrase when accessing.
Example
I attached my blog project’s .travis.yml file here as an example.
language: ruby
rvm:
- 2.6.6
before_install:
# decrypt private key
- openssl aes-256-cbc -K $encrypted_70fbe34e406c_key -iv $encrypted_70fbe34e406c_iv -in blog_id_rsa.enc -out blog_id_rsa -d
# add permission
- chmod 600 blog_id_rsa

# kick off ssh-agent
- eval "$(ssh-agent -s)"
- ssh-add blog_id_rsa
# remove
- rm blog_id_rsa
install: gem install jekyll

script:
- bundle install
- bundle exec jekyll build

#deploy:
#  provider: script
#  skip_cleanup: true
#  script: bash scripts/deploy.sh
#  on:
#    branch: dev
after_success:
# check the connection to host
- ssh -T git@github.com

# add user account
- git config user.name "${USER}"
- git config user.email "${EMAIL}"

# copy _site to tmp
- cp -r /home/travis/build/${USER}/daviddong.github.io/_site  /tmp/
# create new branch
- git checkout -b travis
# clean
- rm -rf *
# copy _site
- cp -r /tmp/_site/* ./
- ls -la
# git add & commit
- git add -A
- git commit -m "travis_ci update gh-pages dev -> 3457aec"
# push remote
- git push --force "https://${GH_TOKEN}@${GH_REF}" travis:gh-pages

# branch whitelist,
branches:
  only:
  - master     # monitor master branch
  - dev        # monitor dev branch
addons: ssh_known_hosts:daviddong.github.io
# caching bundler gem packages will speed up b
cache: bundler
# Optional: enable email notifications about the outcome of your builds
notifications:
  email: true
env:
  global:
  - secure: NiBbDRjSP7+KRko5wT0uOfSiS4GqdyLzEBFa/95OdN8mCrEslnAPS2aMWNdm5FBqMh4sotR31KCXtgnvQUk0NhxCEdNLYLvv6lK9MA2oLRhhQaeYMQjeGvCGmZyScew3cLNRdo9rn/9wXVNtZM0YUZ+CTJbpZS+jyC3KfndganTE4PPpkel/BS1BnDt8HGaioeyik805CK3bAmXClYjD/+sPaxAL6dS4BJEZzge16JK3IcJepYY+wCgzWtqhsSmHfqxJ8mFodKh8hNSQRNyOiT7G+kX8GiA7Hl5kZdd4Qia7V8ct/ovOhxL/QkVWQYp7uukjg8ugQgq02SYcMdMs86SodSmdSD6cYez5CCnmpDqfFh8SXOcNyAfqQf7MGmItI9WraTNPWPfkv5pUp/7go/ZnfGNUobnDdZh5B5cVr5xogif+B4UI2vpesZmf6IXH+XntlHlfh2x/DG6hSwywUJEEQLGJjsfiAkdQ2jbQZ9WylbNNFovT0Px2jZaetOQ9cD3ekVCjyPHfW4/vfqx6cfr2kdGjxEiQghfyfQ5bV05gJXKNfDenWFNMI4X+L0ELITjJb+q+l1L8CKF0KLjfh7lJsqWMV61qU7QCM7siU1f7KvUZCKjtNu4Wot4A11O+a5HaCzSjf7zQTuIrRwFb4srLf39rRIqU5agtxzBxAOA=
OK, everything is done here!
Let’s see what happens!
I modify code and push to the remote dev branch, open my Travis CI web page to view the building process.
Yes, my commit event to the dev branch triggers Travis CI to work for the building.
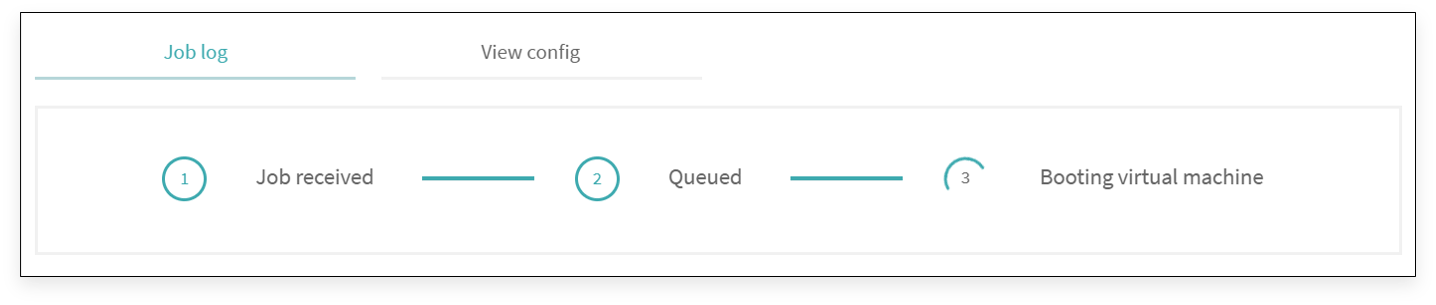
Booting virtual machine …
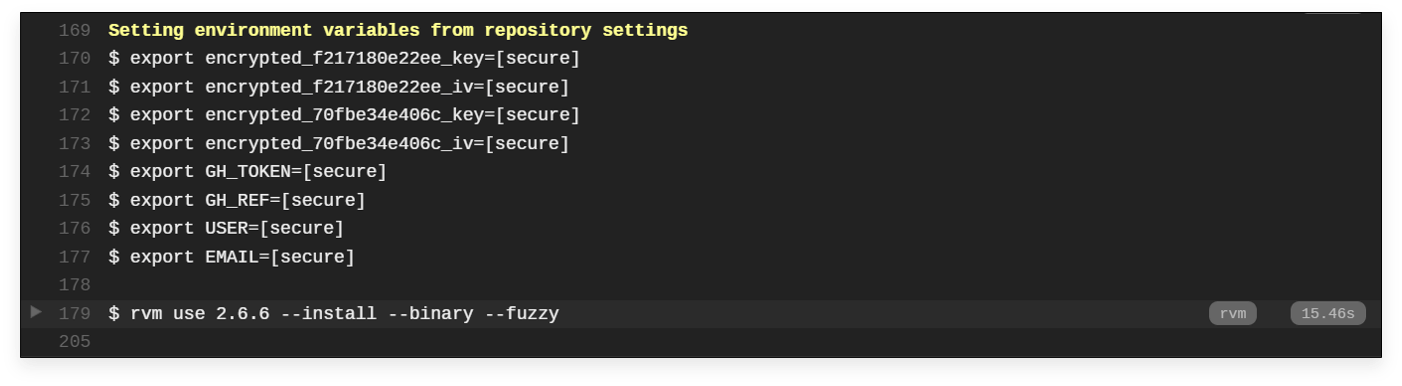
Setting environment variable…
Continue waiting…, oh! start to decryption and install toolchain…
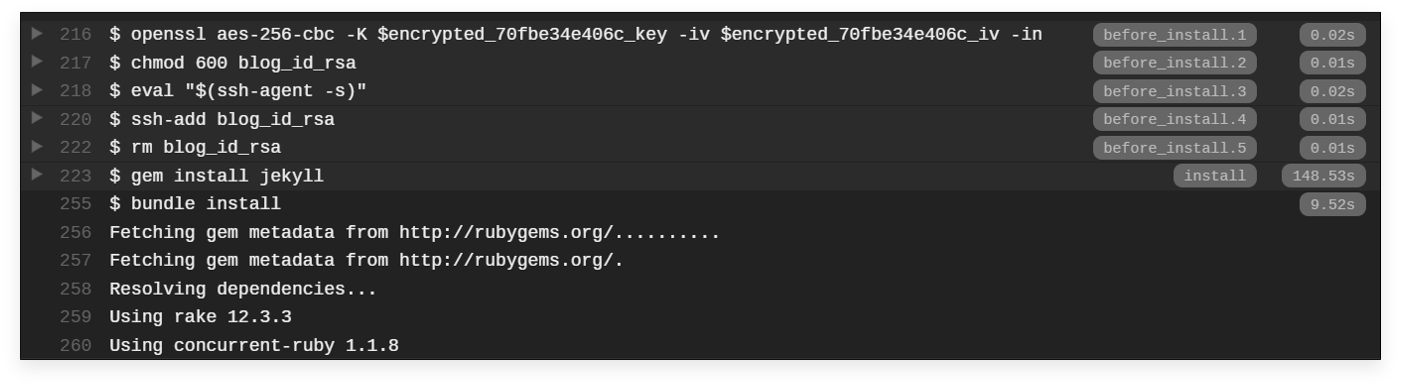
Installation completed, building now…
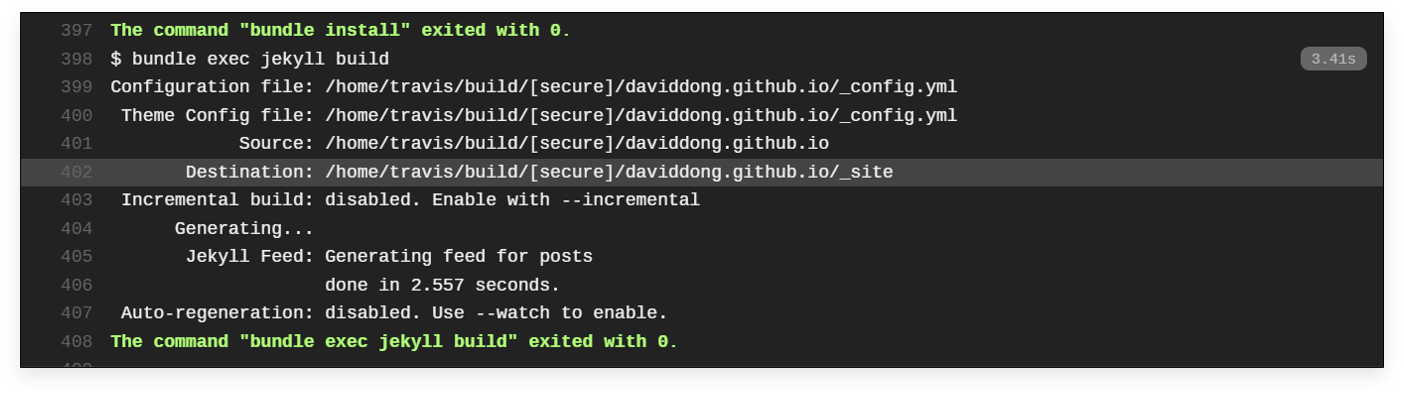
Building succeed! The last step, deploy…
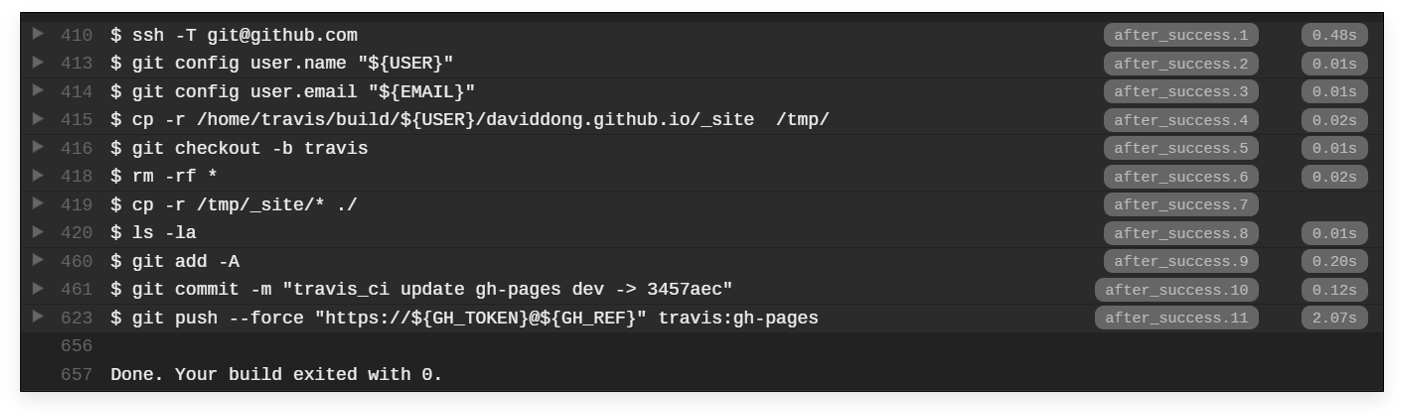
It’s done! Looks like the whole process was completed successfully! 👍
Let me go to the Github gh-pages repo to check the result.
GREAT! 😄
The repo was updated successfully with the new contents.
The Travis CI works well, which means I can get back to the normal workflow to develop my blog without extra git operation between different branches.
The workflow is not only valid for blog projects deployed on Github Pages but any open source projects on Github.
The last thing is don’t forget to add a Travis CI logo/link to your README.

Troubleshooting
Building Errors:
- Error:
iv undefinedwhen executingopensslcommand.
Possible Reason:- check the Travis CI website address, it should be
https://travis-ci.comrather thanhttps://travis-ci.org. - run
travis login --cominstead oftravis login --orgto log in Travis CI. - check the configuration file
~/.travis/config.yml, the value of endpoint should behttps://api.travis-ci.com/.
- check the Travis CI website address, it should be
repos:
endpoint: https://api.travis-ci.com/-
Error: Being asked for entering passphrase for key
/root/.ssh/id_rsawhen executingopensslcommand to do decryption of the SSH private key.
It is because you set the passphrase when generating the SSH key, usessh-keygen -pcommand to reset the passphrase tonone. Then replace the private key with the new one and re-encrypt the private key. -
Error: report
the encrypted_xxx file size is incorrectwhen decryption.
Probably you are using the wrong format encryption file, the Travis CI host is running on Ubuntu OS. So the file format should be UNIX, if you generate an encryption file with DOS format, you will encounter this issue.
The solution is to usedos2unixorfromdoscommand to convert the format to UNIX. -
Error: you got repository not known to https://api.travis-ci.org/: user-name/repo-name when you execute the command
travis encrypt -r 'user-name'/'repo-name' DEPLOY_TOKEN = 'your PATs'It is because your current repo is not in the repo’s list in the config.yml, add your repo’s name into the config.yml and indicate the endpoint to https://api.travis-ci.com/ manually.
repos:
  gangdong/daviddong.github.io:
    endpoint: https://api.travis-ci.com/
  gangdong/sort-algos:
    endpoint: https://api.travis-ci.com/